
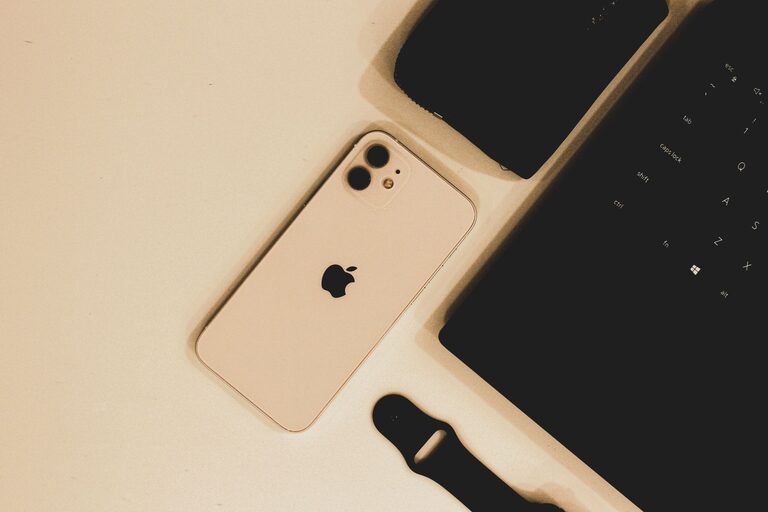
Keeping your phone and keyboard clean can improve their appearance, comfort, and everyday usability. These devices collect fingerprints, dust, crumbs, skin oils, and other debris through regular use. However, electronics need careful handling because moisture and harsh cleaners can damage screens, coatings, switches, ports, and other components.
The safest approach is simple: power down first, use only a small amount of approved cleaning solution, and keep liquid away from openings. Always check the manufacturer’s care instructions before using a new product.
What You Need
Gather your supplies before you begin:
– A clean microfiber cloth
– A second dry, lint-free cloth
– A soft, clean brush
– Cotton swabs for narrow areas
– A small amount of water
– Isopropyl alcohol wipes or a suitable electronics-safe cleaner
– Compressed air for keyboards, if recommended by the manufacturer
– A small bowl or tray for removable keyboard keycaps
Avoid paper towels, tissues, abrasive sponges, and rough fabrics. These materials can leave lint behind or create small scratches, especially on glossy screens.
General Safety Rules
Before cleaning any electronic device, follow these basic precautions:
- **Turn the device off.** Unplug a keyboard from the computer. If it is wireless, switch it off and remove or disconnect its batteries when practical.
- **Disconnect cables and accessories.** Remove charging cables, headphones, cases, wrist rests, and other attachments.
- **Work on a clean, dry surface.** This helps prevent dust and small parts from being lost.
- **Never spray cleaner directly onto a device.** Apply it to a cloth instead.
- **Use very little moisture.** The cloth should be slightly damp, not wet.
- **Keep liquid away from openings.** Ports, speakers, microphones, gaps between keys, and ventilation areas are especially vulnerable.
- **Do not force dirt out.** Scraping or pressing too hard can damage delicate surfaces.
If a device has been exposed to a large amount of liquid, do not turn it on to test it. Disconnect it from power and follow the manufacturer’s liquid-damage guidance.
How to Clean Your Phone
1. Remove the Case
Take off the phone case so you can clean both the phone and the case separately. Dirt often collects around the edges, camera opening, buttons, and charging port.
Wash a compatible silicone or plastic case with mild soap and water, then rinse and dry it completely. Do not put the case back on until both the case and phone are fully dry. Some leather, fabric, wood, or decorative cases require special care, so check their instructions.
2. Wipe the Screen and Body
Use a dry microfiber cloth to remove loose dust and fingerprints. Wipe gently in one direction or with small, light movements. Avoid pressing firmly, particularly around the screen edges and camera lenses.
For marks that do not come off with a dry cloth, lightly dampen a corner of the cloth with water or use an electronics-safe wipe. The cloth should never be wet enough to drip. Wipe the screen, back, and sides, then use a dry section of the cloth to remove any remaining moisture.
Many phone manufacturers permit wipes containing about 70 percent isopropyl alcohol for hard, nonporous exterior surfaces. Follow the phone maker’s instructions, and do not assume that every coating or accessory is compatible with alcohol. Avoid applying alcohol directly to the phone.
3. Clean the Cameras and Buttons Carefully
Use a clean, dry microfiber cloth on camera lenses. If a lens has smudges, gently wipe it with a suitable lens cloth. Do not use abrasive materials or household glass cleaner, which may affect protective coatings.
For buttons and seams, use a dry, soft brush or a barely damp cotton swab. Keep moisture away from the gaps. Never insert sharp objects such as pins, needles, or paper clips into the charging port, speaker openings, or microphone holes.
4. Clean the Charging Port
First, shine a light toward the port to check for visible debris. If the manufacturer provides cleaning guidance, follow it closely. A soft, dry brush may help loosen surface dust.
Do not pour cleaner into the port, use metal tools, or push debris deeper inside. If lint is tightly packed or the cable no longer fits properly, professional service may be safer than attempting to remove it yourself.
How to Clean a Keyboard
1. Disconnect and Turn It Upside Down
Unplug the keyboard or switch off the wireless connection. Hold it upside down over a clean surface and gently shake or tap it to release loose crumbs and dust.
Do not hit the keyboard against a hard surface. A light tap is enough; force can damage switches, stabilizers, or the keyboard housing.
2. Remove Surface Dust
Use a soft brush to sweep dust from between the keys. You can also use compressed air in short bursts, holding the can upright and following its instructions. Keep the nozzle a short distance from the keys and avoid tilting the can, which can release cold liquid.
Rather than blowing debris farther into the keyboard, angle the keyboard so dust can fall out. Some keyboards have manufacturer-specific cleaning instructions, especially models with backlighting, special switches, or built-in batteries.
3. Wipe the Keys and Housing
Dampen a microfiber cloth with a small amount of water or an electronics-safe cleaner. Wipe the tops of the keys, the edges of the keyboard, and the palm rest. Do not spray anything directly onto the keyboard.
For stubborn marks, use a lightly dampened cotton swab around the edges of individual keys. Work slowly and avoid leaving moisture between the keys.
4. Clean Removable Keycaps
If the keyboard allows keycap removal, take a photo first so you can replace each key correctly. Use a keycap puller when possible rather than prying with a sharp object.
Place removable plastic keycaps in lukewarm water with a small amount of mild dish soap. Let them soak briefly, rinse them well, and allow them to air-dry completely on a towel. Do not reinstall keycaps while they are damp. Avoid soaking the keyboard itself.
Some low-profile, laptop-style, or scissor-switch keyboards have keys that are difficult to remove and easy to break. For these models, clean around the keys without removing them unless the manufacturer provides specific instructions.
Clean Regularly and Gently
A quick wipe once or twice a week can prevent buildup. Phones may need more frequent cleaning because they are handled throughout the day. Keyboards benefit from regular dust removal, especially if used near food or in a busy workspace.
The goal is not to saturate the device or make every surface look polished. Gentle, consistent cleaning is safer than occasional deep scrubbing. When in doubt, use a dry microfiber cloth, follow the manufacturer’s instructions, and keep all liquids away from openings and internal components.